Well, not actually, but rather a long dance around getting to building the lap joint rig and actually completing a joint. Here we go, a long gallery describing how we arrived at our first lap joint:
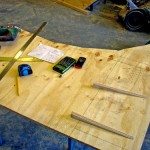
- Here you see the joint setup. We used a 12/1 lenght to thickness ratio as recommended by “The Gougeon Brothers on boat construction” book. It is a good book, check it out.
- Epoxying the bevels onto the base plate of our router base. The plywood we use is not all that straight. Keep that in mind when creating a lap joint setup, you want it all to be level.
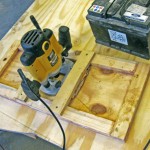
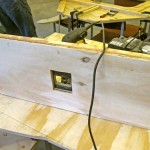
- Here you see the plate for the plunge router. There is a hatch to allow for the router bit to go trough and also, what is important, to see what the router bit does. That is why the hole is oversized.
- Another shot of the jointer.
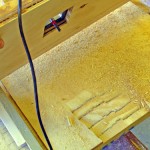
- The bottom of the router plate. All is looking good. I sanded the plate with our belt sander to give it a smooth finish.
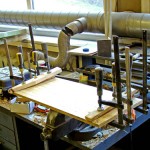
- Our lap jointing setup.
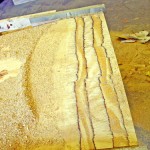
- First completed half of a lap joint. Notice that the cross section of the plies is not uniform. This is because the router bit varied in height due to the unnevenness of the guide bevels and the router plate itself, which I had to extend leghtwise in order to get it to work. Also, I added some material to the guide bevels when you compare to the first picture, to give the router bit space to work. I ought to have planned the lap joint rig forehand. For exmaple modelled it out in SolidWorks. If you plan on building a set up, sketch it down first.
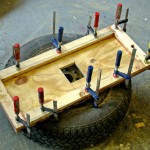
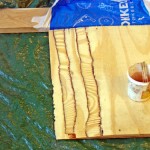
- Getting ready to epoxy the first joint. I belt sanded both the laps. The cross section of the lap looks nicer now. Plenty of epoxy was used here, since the endgrain of the wood absorbs most glue when compared to the rest of a plywood sheet. And here, you see a very wide endgrain exposure. The long bar in the upper part of the picture is for keeping a straight edge reference. It is actually our future bow stem. The work is laid onto a plastic sheet so that we do not glue the lap joint stuck to the floor. It has happened that I have glued a bulkead to the floor. The bulkhead did not yield, but the floor did, which I find interesting.
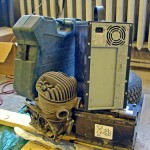
- Notice the fine use of weights in our garage. A wrench case, lead acid battery, go cart motor and our HIWA (Heavy Important Welding Apparatus). The plates were fixed on the floor with car wheels.
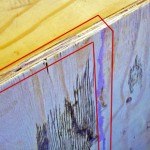
- A finished lap joint. The red outlines the joint. Barely visible. The black you see is some motor oil I managed to spill, fortunately most of it spilled on me, no the plywood. I gave the joint some good heavy thumps with my fist and it ringed like a solid piece of wood. Out of this piece we will make our fore cabin windows.


I enjoy the updates… keep on working!!!
Will do!