Painting your boat is important for at least two reasons:
- Protection.
- A painted boat looks good.
Aesthetics
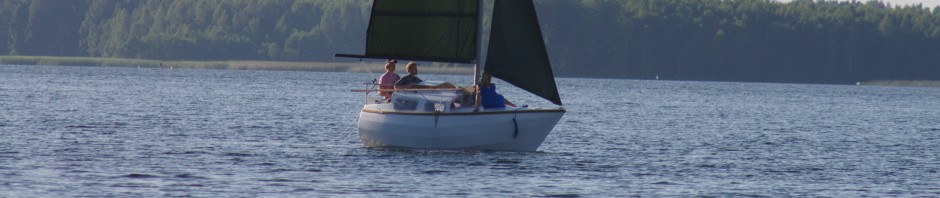
As our friend put it:”A sailboat can be of any color, as long as it is white.” And our sailboat is white.
High gloss paints will bring out every little surface texture. Most sailboat finishes are glossy. So if you are highly sensitive to fiberglass showing under the paint, then apply more epoxy fillet and sand until satisfied. Ideal-smooth surface preparation is the key to a good looking cover. It will make the boat ever so slightly faster too.
We chose to accept the rough look, fiberglass texture showing all over the place, because we were utterly tired of sanding. At given hull speed, there is nothing practical about a super fine finish.. arguably.
Protection
Paint offers important protection to the boat. Our WestSystem epoxy is not in long term UV resistant and needs a covering coat. On polyester boats, paint can protect against osmosis, or so called blisters (West System is real scientific about them here). Of course there are other aspects of paints, but I dare say that these are the main ones. What you need depends on what you have.
Recommended boat topcoats (outside) are hard and durable two part polyurethane paints. Most of them apply equally well above deck and below deck, need a two part primer and need at least two coats (average coverage under 10 m^2/L).
Paint below the waterline should have antifouling properties. This is especially true for any boat that will be sitting in water over the sailing season. There are several types of antifouling technologies. Quite common are “loose” paints that leave a powdery finish, from which growth simply falls off. Typically these paints will also ave abiotic compositions, eg containing copper.
There are also one component polyurethane paints. John Welsford has said that some of his “test pieces” have survived the nicest with single component polyurethane coats. Other forums say that you can forget about single component paints, they suck. So, again, it is open to discussion. Wikipedia can help, if you know what you are reading.
What we used
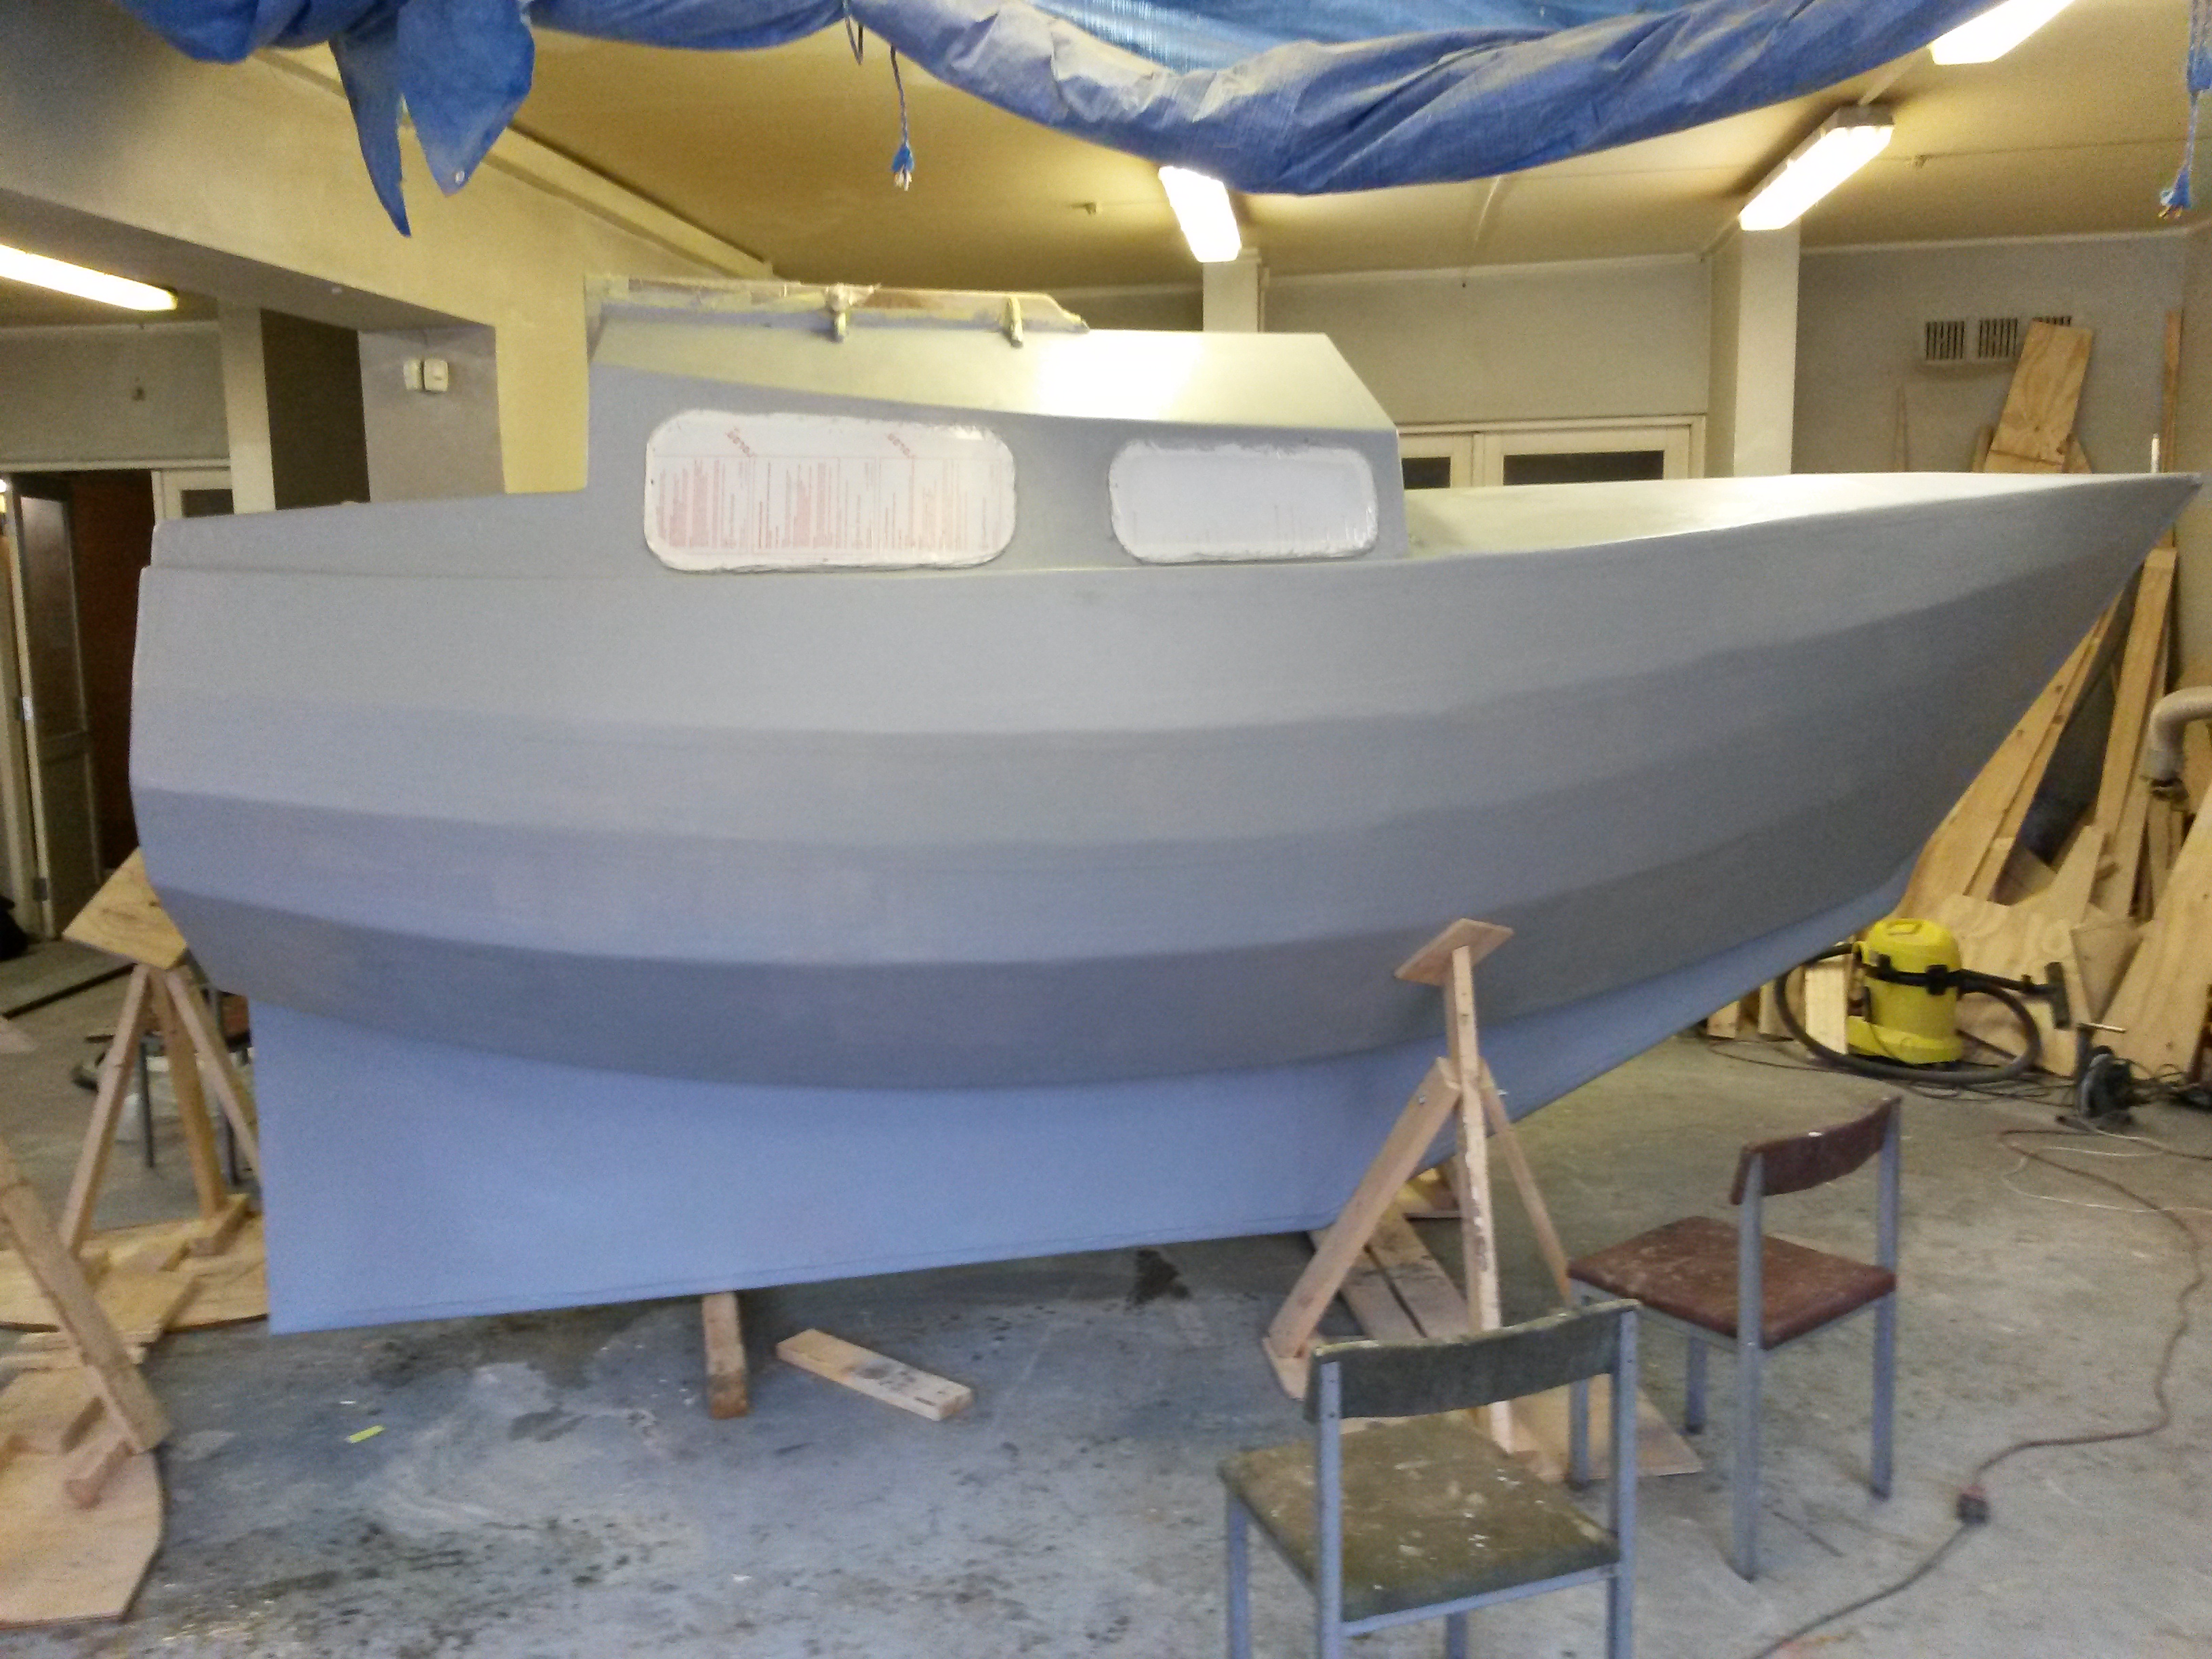
We decided, as was recommended, to paint with a two component paint.
Our two component primer, the gray you see above.
We got the cheapest we found, which also turns out to be highly recommended, Wilckens Yachtline Epoxyd Primer and Wilckens DD Hartlack.
Both are two part paints (epoxy primer and polyutherane topcoat), costing around 15-20 EUR per 0,75 L (both parts included) and cover around 8-10 m^2 per litre (as do most other un-diluted paints). Wilckens is arguably the largest marine paints producer in Germany, a land of quality, as we know. It is 2-3 times cheaper than other paints.
The price difference arguably comes from the fact that since Wilckens produces paint in large quantities, the smaller hobby-patches can be cheaper. Other well known alternatives are International (the most expensive) and Hempel. At least over here in Europe.
We applied two coats of primer and two coats of paint. Packaging said that protection against osmosis is guaranteed starting from 3 layers (recommended 3-5 layers of primer). But our trusted friend said that that is only needed when dealing with a non epoxy surface, eg. polyester or wood.
Well, we trusted him and applied two coats (We simply ran out of paint after that. He said that we could have done with one coat of primer. True, we have at least 3-5 coats of epoxy underneath the paint). We went by the book with the topcoat, 1-2 coats for optimal coverage (2 on ours).
We antifouled the boat with Wilckens Yacht Antifoul. It has worked really well, no life after 3 years in water.
Inside the cabin
We painted the inside all white with a non-specific white enamel paint bought from the hardware store. It has stood test of time very well.
What more can you buy?
Anti-slip paints are an attractive option that we have not tested.
So – that concludes the discussion on choosing paints. As is always good, ask around your local boat community and go by what they trust and have good experience with. In our case, luckily, it turned out to be the cheapest of the “best” paints, polyurethane.
John Welsford has said that the NZ fishermen he knows paint their wooden boats with simple oil-enamel paints and then apply antifoul to them. Cheaper yet.
Applying the paint

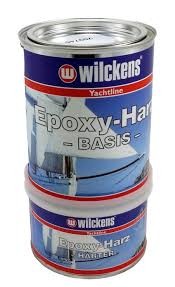
One of the signs on our epoxy canisters. the fact that it does not smell does not mean that it does not kill. Basically – be safe and wear all the protection you can. You’ll live longer.
Our West System epoxy gives off only the slightest fume, which does not seem all too toxic. I mean, it does not feel like sniffing gasoline (we’ve all done that in one point of our lives, right). Curiously enough, two component polyurethane paint smells like nothing else. It has VERY intense organic solvent smell to it.
We painted the boat with proper 3M full breathing masks and chemical filters. The filters cost about 15 EUR per pair. Our old filters were good for dust only. We did the painting indoors, this added to the need of the masks.
We applied the first coat of paint with masks on and did not smell anything. But then a guy from two floors above came telling that close the darn door, the whole house stinks, then we got a whiff of the paint and understood the great recreational potential in it. I mean, painting without the filters would have ended in a serious “trip”.
For mixing smaller portions (not whole cans of two part paint), we recommend, by experience, large syringes. 50 ml syringes cost 0,50 EUR around here, sold at the local pharmaceutic. It is especially good if your syringe has a cover cap on it. Cut a hole on top. This means that you’ll have two nozzles for both components. First take whichever component with clean syringe end, then take the second with the cap on it.
Use high quality paint rollers that do not leave hairs. These hairs are very annoying to pick out of the fast-drying paint. Open-cell foam rollers seem a good option.
Kas te panite siis Wilckensi peale midagi karestavat või teate mida võiks kasutada?
Tere, Kristjan!
Viimistluse topoloogia on selline (kihid seest välja, alates vineeri välispinnast):
1) Epopahtel
1.1) Lihvimine
2) Klaasriie+vedel epo
2.1) Lihvimine
3) Epopahtel
3.1) Lihvimine
4) Wilckensi hall kurnt, 2-3 kihti
5) Wilckensi värv – 2-3 kihti
Ja kõik! Ehk sain küsimusest valesti aru. Võib-olla küsisid, et kas panime välistekile midagi karestavat, et jalg ei libiseks? Kui nii, siis veel ei ole pannud. Näis, järgmine nädal paneme vette, siis selgub. Igasugu karestavaid teipe müüakse, näiteks. Neid saab dekoratiivselt kasutada.
Head,
Uku