Hello!
This is not a letter from santa nor a manifesto filled with new-year promises. Rather, another one of those updates which tend to surface now and then, though yes, about three times longer than average. The building frenzy is now over. This means that we will not be spending day-after-day in the garage, working on the boat as we did for almost two weeks. It is back to the weekender format of work. Some everyday labour needs to be done as well. The boat has been flipped again. The main difference is that it now has a keel. True, without lead, but a keel still. Oh, and casting lead bricks was rather fun. A flood of pictures from the past weeks:
- We had planned our work frenzy since the beginning of autumn. We aimed towards the Universitys Christmas/new-year holiday. Our initial plan was to finish the boat completely. It was a good estimate and we did not miss mark too much. Work started 10 o’clock (am) on the 24th of December. Forehad we obtained a new roll of fiberglass: 50 kg of 220 gr/cm2 biaxial fiberglass, supplier: Bang&Bonsomer.
- Along with the new roll of fiberglass arrived our third 30 kg batch of West System epoxy resin. This means we have bought 90 kg in total. Should have bought a larger canister to begin with. Learn as you go, they say. We depleted our second one and now the new one is half way through.
- Mother of pearl of the world of plywood – certified marine plywood, 9 mm, 5 ply tropical Meranti. Rot-boil-weather-water-UV and whatnot proof. We bought two sheets for covering the keel. We argued that since the keel is not going to be fiberglassed, then we want the wood to be as rot resistant as possible.
- Asia Plywood Company Edn End, Malaysia. There is a ton of illegal hardwood going out of Malaysia. Lets hope that ours is legal and the indochinese tiger will have a place to live in the future as well. “At current rates of forest lost the rainforests will disappear within a generation.” – Wikipedia on Malaysian wildlife. Any solutions?
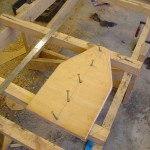
- We started by constructing a dry fit of the keel. This meant that the keel tailpost had to be made (the heel of Achilleus on our boat), keel posts fixed, keel edges fixed and the ever-so troublesome forward transom capped.
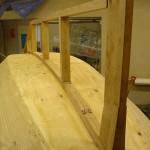
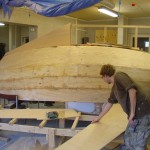
- Progress with the keel dry-fitting. Tapering the keel timbre took a healthy amount of time. Done with the handsaw, router, handplane and the chisel.
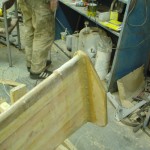
- After being convinced of the quality of the keel superstructure mockup we decided to go ahead and cut out the keel side plates. At first, tracing the curve seemed tedious. Joosep took vertical measurements of the keel profile every 10 cm or so. Then cut out the shape. It was satisfactory, with a precision of 1 cm or so. Then we recalled how Doug Jackson of svseeker.com drew the curves on his steel plates – put a pencil flat on the curved surface, place the joining plate onto the curve and trace with the pen – 95 % match of curves.
- Almost done with one side. Working on the keel cappings.
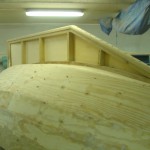
- From a different angle – the keel mockup without keel shoes/leading edges.
- View from the port side – now the dry fit is complete. All is in place, the shoes, posts, forward stem capping and plywood.
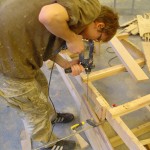
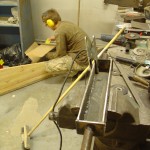
- We could not glue the keel on, since we “knew” that it would not fit out our garage door. Thus we continued with other works that had to be done to get the boat finished. Here Joosep is drilling a hole trough the rudder to add a threaded bar in order to give additional strength to the laminate. This should have been done forehand – drill a larger than needed hole trough each laminate piece, before laminating. Now, due to low accuracy, four holes were needed to get a good hole trough the rudder. Sidebores were filled with epoxy. Learn as you go – right.
- Joosep continued with the rudder shoe. You can step on it when on the way back onboard the boat.
- The rudder shoe has been installed, this joint was the first area where we tested our new biaxial cloth. Wow, is it better or what. It soaks up epoxy much easier and also, since it is biaxial, bends around curves with ease (as long as applied correctly).
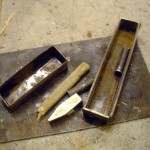
- While Joosep worked on the rudder, Uku continued welding the lead casting form. The DIY MOT welder was resurrected and put to good use. Turns out that stick welding takes time and patience to learn. A few tips: constant arc length and keeping an eye on the metal puddle.
- Our lead needed to be melted. Initally we tought of making a big fire under a kettle. There is still no snow in Estonia, still no minus degrees, still no water freezing, still not so cold in the apartments, so we would have had plenty of firewood to use. Doug Jackson of svseeker.com smelted his lead with a wood furnace, all 4 tons of it, or more. But that would have meant moving the lead from the garage to the source of timbre and then back again. Plus, it was not very certain how we would put the kettle into the fire, how to keep heat losses minimal and how to pour the lead. We sought a simpler solution. YouTube came to aid us in our confusion and an idea was formed in the mist: use a powerful electric stove. So one good day Uku brought the steel pot and Joosep brought the stove. Two material sacrifices from our everyday lives. One of the heating elements of the stove was fried (dead, no conduction), the other, a 1,5 kW one, worked. We calculated that it would take at least 15 hours to melt the lead. A doomsday figure, but we had to try. Luckily, our shop has good ventilation, so we turned the stove on, put the pot on it, some lead into the pot, a heavy steel lid on the pot and started waiting. Soon, maybe 30 minutes later, the lid was steaming. All the epoxy and whatnot-gunk was burning off the lead. And behold – a little bit of it was even melting (melting point of lead is around 350 deg C).
- We argued that there needs to be a liquid lead layer covering the bottom of the pot to improve conduction. Uku took out his 1,5 kW butane burner and went to the rescue. Indeed, it helped melt the lead, accelerated the process, and a pool was formed. But the process was asymptotic – after removing the torch and adding lead. The pool froze, only a small part of it remained liquid in the center of the pot, where the heat flux was greatest (edges of the pot were cooled by air). All this, meaning, all this nothingness had taken us an hour. Bad news – we needed more power.
- Our ballast – 300 kg of lead. Previously used for roofing.
- After abandoning foundry processes we continued with other work needed to be done. Again, our ever so faithful PVC sewage pipe want water kettle boiling system came handy. Here you can see the gunwale stringers steamed and temporarly fastened to the boat. Solid oak with a few scarf joints.
- Then we decided to glass the boat. Before of course we fiberglass-taped the planking seams with a 10 cm wide fiberglass tape ordered from China via Ebay. It had a most pleasing postcard in the package.
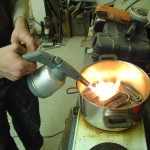
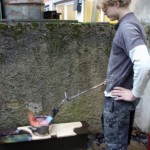
- On the 30th of December we took the next step in smelting lead. A max 50-60 kW industrial gas burner. A potfull of lead melted in about 5 minutes. A vast improvement over our last experiment. This was great fun.
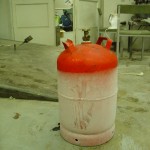
- We rented the gas and the burner from a local tool-renting company. 11 kg of industrial gas and the burner. On the picture is the gas container after we finished pouring the lead. We do not have snow on the ground in Estonia, but that evening it was on the gas container. Thermodynamics in action – the gas expands and chills the container. We calculated that we needed roughly 3 kg of butane to melt all the lead we had. We definitely used more. This was due to losses. Smelting lead outside with near freezing temperatures has its drawbacks. Not enough though to keep the 50-60 kW burner at bay.
- Unfortunately we had not thought trough the process of handling our pot filled with molten lead. Soon, due to temperature, the handles broke off and we actually almost spilled a potfull as it fell to the ground. Luckily, we still have our limbs and vision. After a first jury rig, the spot welds broke off the sides of the pot as well. So, a more elaborate design was needed. Here again the momemade microwave-oven-welder came handy.
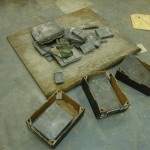
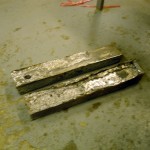
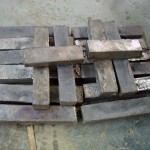
- Our first casts were sloppy. We cooled the form by pouring water onto the hot lead. At times, if poured too early, this caused a jet of lead to burst out of the solidifying brick. Perhaps because water got between the bottom of the form and the lead, evaporated, expanded and pushed its way trough until emerging at the top? We also discovered that skimming off smelting residues had its benefits do achieving a proper pour. On the lower bar, which was our very first, we did not skim any residues off the surface of the liquid metal. An experiment.
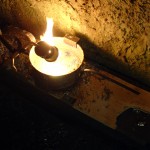
- It took more than an hour to finish the new pot-handling-frame. This time, it worked. Welded from scrap metal, it held like a charm. On the picture, the torch is on idle, meaning not as hot as it can be. At its hottest, the flame is not as bright, meaning that the energy is transferred in a different area of the electromagnetic spectrum.
- The casting form was not perfect. It did not want to let go of the ingot. Here Joosep is improving his general fitness when trying to release the form. The form walls were inclined to aid release, but the welds were awful (chicken shit they call it on the web) and probably held the lead in. In the end we did find an optimal way of loosening the pour.
- All done! All this work was needed to put the metal we had into another shape. Fantastic how things work.
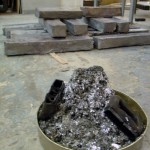
- Quite an amount of impurities were skimmed of the molten lead.
- Releasing the ingots from the form had its toll on the tools. The form, on the right, lost both handles, its general shape and vigour, cracked a wall. A hammer snapped, the workshop floor suffered some damage and a second, scrap metal form was damaged.
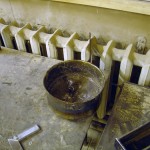
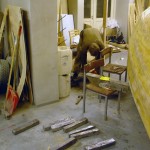
- The workplace after the pour was completed. Can you guess where the melting pot stood? The wall behind the scorched area was hot to the touch. That ought to give a hint on how much power was needed to melt all the lead. A promise of good fun at cleaning up.
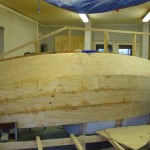
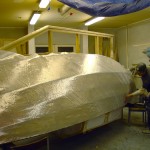
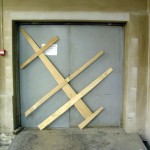
- We were slightly frustrated by the “fact” that we could not put the keel on in the workshop where we are. Several plans were devised on how to move the semi-completed boat to a new area, fix the keel on it and then transport the boat closer to the sea to wait the sailing season. We discussed renting a trailer, buying a trailer, renting a lorry and whatnot. Then, Joosep had the bright idea to actually measure whether the boat could fit trough the door. We then constructed a maximum area cross section of the boat, with the keel attached. And voila – this is the result. It fits trough! We had been building the boat 2,5 years knowing that we could not move the boat out. A simple 30 minute experiment proved otherwise. What a great release.
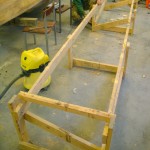
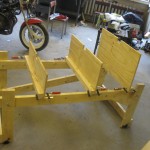
- It was time to glue the keel and build new braces to keep the boat upright with the keel attached. This meant salvaging the construction rig we built as a very first thing back in 2011, when we started the build.
- This is what it looked like when we started, the rig.
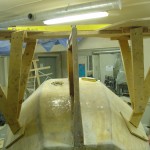
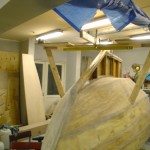
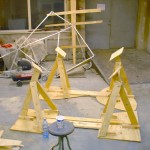
- Out of the salvaged parts, an inverted design approach was taken. We decided to make two stands, one in the front and one in the back. Four tripods alltogether. The keel stands in the middle of the tripod base plate connection planks.
- After the rear stand was completed, it was time for the forward stand to be made.
- The new stands completed.
- The keel was then glued in place with confidence.
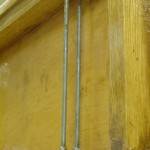
- We added in total four threaded bars to help keep the keel attached to the keelson. This construction is not in the original plans, but was improvised by the builders to aid soothe the fears of loosing a keel at sea.
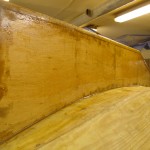
- The covered side of the keel, with a few layers of epoxy. The other side will be covered once the boat is flipped and lead bricks added and braced with cement plaster.
- Then we covered the boat in a smoothing microballoon-epoxy fillet.
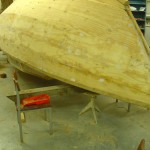
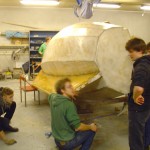
- And – on the 5th of January, we flipped to boat again. This time the procedure was more organized and worked like an arm exercise of the army of North Korea.
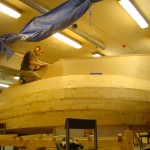
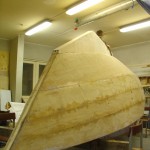
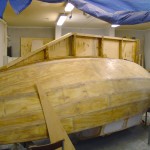
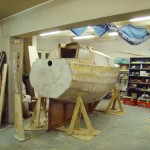
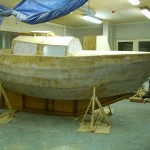
- There she stands! Ready for sanding, finishing and lead bricks.
- Starboard side, hatch on and all.
Woah, that took long to write. Until next time!

