The making of a Fafnir floor described in a picture gallery:
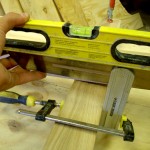
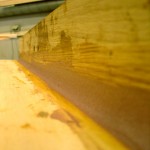
- It is important to get your floor timber level to the horizon.
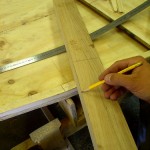
- Some tips for planing
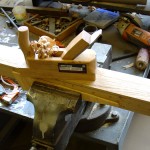
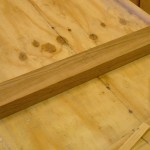
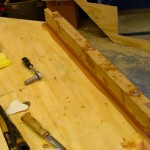
- I hand planed the timber. To make sure that you have a nice flat surface, perform some strokes diagonal to the wood grain. That ensures a nice plane surface.
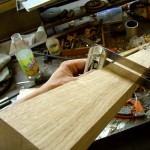
- The adjustable bevel can now be used to check for irregularities in the planing process. Looks fine!
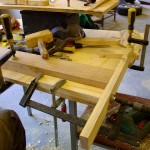
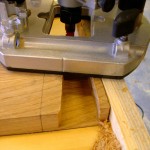
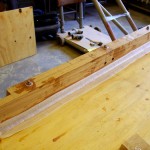
- To cut the joints for the chine logs I used a router. It gives you a very fine edge with low error. I chiselled the first three floors, but routing is better. Here you can see the setup. The floor is fixed to my “work desk” with a clamp. The guide rail is a simple wood scrap piece fixed to the desk with some clamps in an improvised fashion. Without the guide rail the router would perform havoc on the timber.
- Coming along well. I had to do the cut in two depth sets.
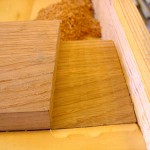
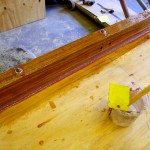
- A very nice slot for the chine log to sit in. Now for the other side!
- Very good accessories to have when routing. My router makes a ton of noise when ripping trough the wood. I’d still like to listen to birdsong in the future. The dust mask is good unless you hold your breath, lots of dust is produced. Eye protection! Yes, that is a must. I’ve had burning bits of iron in my eye, ever since I am cautious.
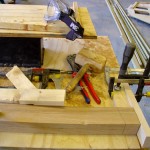
- Settting up for the other side of the timber.
- What a nice fit to the logs! The router is a good tool.
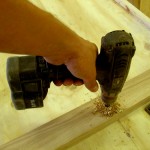
- Drilling the 10mm holes for the floor timber. The bolt goes trough the timber, bottom panel and keel.
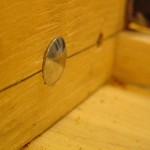
- Here you see a nice furniture bolt fitted trough the timber and bulkhead. Always mark where you put your bolts or screws – it keeps your work tidy.
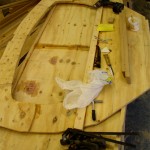
- When starting to epoxy the floor timber to the frame I have set up all the things I might need. Clamps, a wrench for bolts, glass tape (in the bag), a knfe, a custom cut filleting roundedge, sandpaper and a block of wood, a drill with a screw bit attached. The epoxy is in the jam jar.
- The epoxy has been laid, screws screwed and bolts bolted.
- I added the fillet straight after fixing the timber in place with scres and bolts. Makes things faster and promises less sanding. I used a round scoop I cut out of one of the lids of the jam cups used for mixing epoxy. Gives a nice round fillet.
- I cut the glass tape to lenght and fixed it straight to the fillet. It sticks well and you can easily do fine adjustments before applying epoxy.
- The tape has been soaked with epoxy. I coated the timber with the excess.

