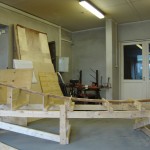
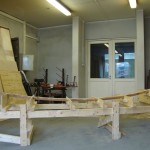
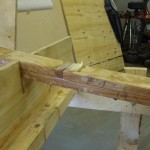
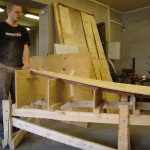
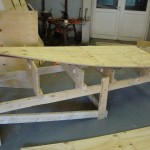
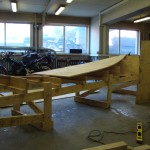
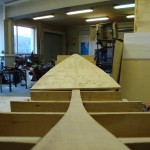
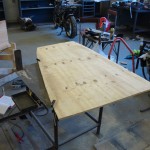
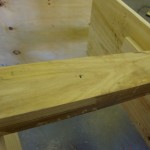
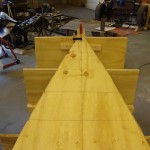
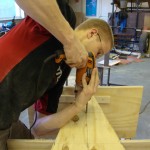
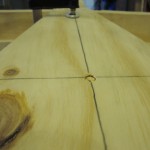
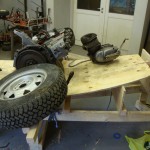
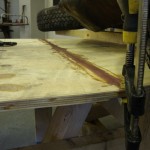
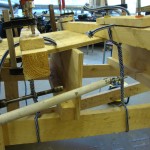
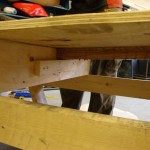
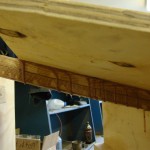
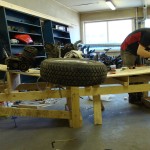
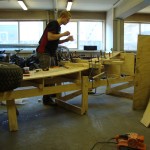
After epoxying the keelson and letting it dry we removed the clamps, the keelson seems to be very strong and holding it’s curve nicely. It better be! Next we drew and cut out the bottom panel in two parts and dry-fitted it with screws. The hard part was epoxying the bottom panel to the keelson. We found out that some of the screws were not strong enough and we stripped their heads accidentally, also the plywood was not flexible enough to comfortably bend it to the curve of the keelson. In the end we used a lot of pressure and some improvised clamps and we got a really snug fit.
We also learned that epoxy dries too fast and if you’re working under the pressure of a ticking clock you tend to make mistakes that could have been avoided. The result, however, seems to very good. We’ll see tomorrow how the epoxy is holding, but based on our experience with the keelson, I bet it’ll be rock-solid.
Here are some pictures from yesterday’s build. We spent about 4 hours in the garage.
- Keelson without the clamps
- The laminated keelson.
- The keelson after the epoxy has dried
- Põhjapaneel
- The bottom panel on the jig
- The bottom panel on the jig
- The bow part of the bottom panel
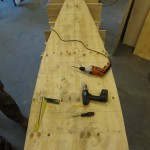
- Cutting the bottom plate
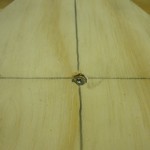
- A screw hole in the keelson
- The centered bottom plate.
- Dry-fitting the bottom plate
- A counter-sunk hole
- A screw through the bottom plate to the keelson
- Fitting the bottom plate
- The bottom plate on the keelson
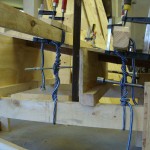
- Improvised clamps
- Applying pressure to the bottom plate
- The central bottom plate joint, epoxied
- DIY clamps
- The bottom plate fitted to the keelson
- The stern, bottom plate nicely glued in
- Põhjaplaadi raskused
- Last touches with epoxy

