Hello!
Autumn is approaching and so is the deadline of our occupation of the building space we have been stationed in for 3 years. So there is now an outside pressure to getting the boat to water soon. I finished constru cting the boom gooseneck. To my surprise, I could pull 4,8 mm stainless rivets by hand with my Stanley rivet gun, albeit palms received pain. Roughly 2/5 of the boat has been painted with an oil based enamel, white, called Pentaprim. Stinks well and a respirator is needed. I used a larger 10 cmm wide brush to apply the paint. Leaves a good cover. I wont go for a second layer. Right, the sails are in the making and after painting the inside, rest of the rigging can be fastened. Also, the companionway is finished. Pictures:
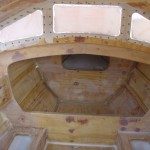
- The inside of the boat before painting. I spent a few days introducing Dremel to the dark and hidden corners of the boat, removing sharp or loose fiberglass. I intended to add more fillets to fine tune the looks of the inside, but then I recollected that the qualityof the surface texture is of infinite limits and decided to go for painting. This is a sharp reminder that fine tuning s-h-o-u-l-d be done when epoxy is still malleable.
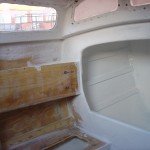
- Putting the paint on was rewarding.
- Looking fore.
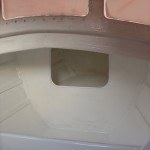
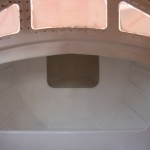
- I applied a generous coat of paint with a large, soft brush. I thus wont go for a second cover.
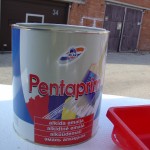
- The paint – an oil based enamel (alkyde) called Pentaprim. For interior and exterior use.
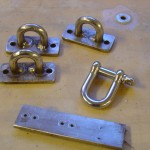
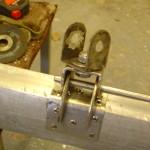
- I once ordered some extra U shackles and now made deck fastenings out of them. The metal plate is a coming fastening. I cut the ends of the shackles and put those trough the plate so I could weld the ends from below. It is a ton stronger that way.
- Working on the gooseneck. The swiwel is held together by a M 12 AISI 316 bolt.
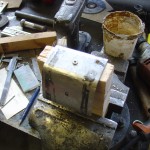
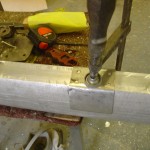
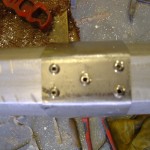
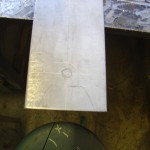
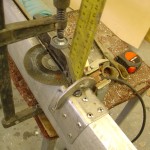
- Making the mast side clamp proved fun. Here I pre-drilled rivet holes. Five rivets in each face.
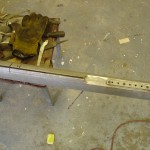
- Then I needed to cut off some sail guide.
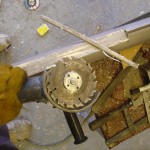
- The tool of dreams came to aid. A carbide tipped saw blade fixed to the angle grinder. It took off the sail guide as if it was hot butter.
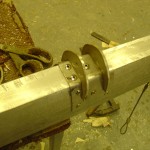
- I held the mast clamp down with a .. clamp.
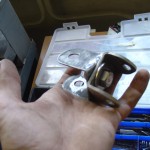
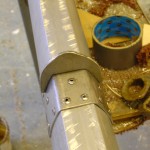
- And… it worked! AISI 316 rivets pulled well, finished off with a loud bang.
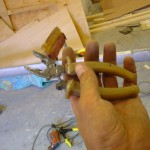
- I must have eaten too much porridge in the morning. The second pair of forceps I snapped. Tried to bite trough the rivets’ pulling pin.
- Then the tricky part – cutting the right curves into the gooseneck fittings.
- But it all worked out well. I made about 4-5 cardboard templates.
- And a copy-paste to give the idea of what is about to happen.
- Welding! This is why I riveted the base plate into place before welding. Namely – heat distortion. Stainless steels bend like the hunchback of Notre-Dame. The aluminum of the mast spreads the heat load. Furethermore, my arc welder would have otherwise burned trough the thin 2 mm base metal. The other two parts are 4 mm thick.
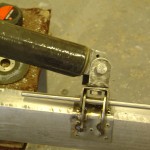
- And voila!
- I need to make on U piece longer, the boom can otherwise rotate only about 45 degrees relative to the mast. But fortunately that will not take more than a few hours.
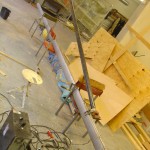
- Mast and boom.
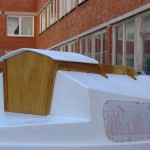
- The companionway is all good now.
- Finished off with le Tonikois nr. 1 marine varnish. I will write about the application in a separate page. All I say is – not as simple as it seemed at first.
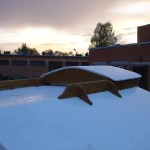
- The hatch is rain proof alright. I took a rainy mid-day nap in the boat. Stayed dry.
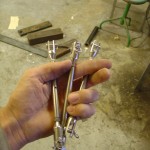
- Three turnbuckles I bought – but these are too small to fit trough our chainplate holes. Will sell these and buy bigger ones.


have been following your progress for a couple of years now and have even bought fafnir plans. As luck would have it I found a completed fafnir close to my 25 foot boat and have negotiated to exchange boats. Send your email and I will send copies of my new boat. you are welcome to put the photos on your website.
Rod, thank you for the comment! I sent you an email.
Cheers,
Uku
Did you get pictures of rods boat?
Hello Gregory,
Yes we did, I sent them to your email.