Hello!
Today I discovered that it is relatively easy to sharpen drill bits – you need a bench grinder and a 118 deg guide. It took 15 minutes of practice to get a working bit. This means I could finish the mast step and the rudder hinge. HSS bits are no good for stainless and harder steels of its kind, they simply wear down and are heat sensitive. They say that the next best is HSS-Co (Cobalt). I ended up sharpening all my drill bits. Don’t need to buy one for a long time now. So, the mast step is finished, so are the rudder hindges.
I spent about half a day sanding the nooks and crannies of the boat interior. Another half day session is needed to get the sharp points off. I’m not going for a luster, just so that the surface does not look like the Himalayas. It is a Dremel paradise. I’ll make a video.
Then there is the work on the rudder tiller, which is underway, and also painting of the hatch – now painted. Waiting for some funds to get interior paint and oak varnish. That’ll be next weeks topic. Meanwhile thinking of boom-mast connection. A dry ft is in order by the end of next week.
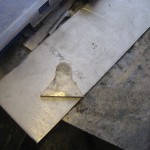
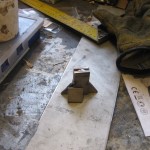
- Mast step, phase 1: a single profile cut from 4 mm AISI 316 sheet.
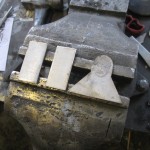
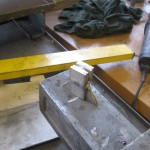
- Mast step, phase 2: two additional side pieces, “cheeks”
- Mast step, phase 3: tack them up with the beloved MOT welder.
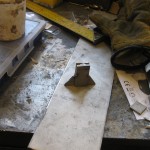
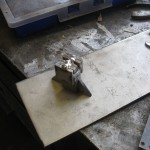
- Mast step, phase 4: it r st4ndn!1
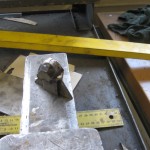
- Mast step, phase 5: keep cutting cheek pieces until desired thickness.
- Mast step, phase 6: gaining thickness..
- Mast step, phase 7: the final raw piece.
- Mast step, phase 8: getting to work with the angle grinder. I used the 1 mm parting disc before approaching with the sanding disc – faster.
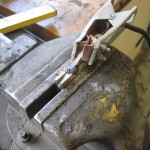
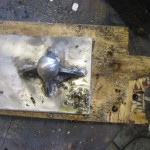
- Mast step, phase 9: and then I ran out of camera battery and completed the rest of the step. Welding it up was a bit painful. I did not do single pass welds, just spots here and there to avoid too much distortion. I also ended up welding straight beads under the step just to straighten it out a bit. Rest was hammerning. This is the point where I was out of sharp drill bits.
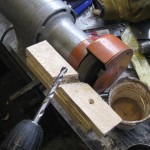
- A week later I saw a YouTube video and tried it out myself: the setup. A bench grinder with a wooden piece sliding on the grinders guide. The V slot on the piece of wood is at an angle of about 118 degrees, normal to the surface of the grinding stone. I used a V shaped router bit to cut the groove. Water is good to have by. As soon as you see the drill getting darker, quench it.
- One of the finished products.
- I was very glad to see my ghetto-sharpened drill go trough 4 mm if AISI 316 with relative ease. But it was not enough for a second hole. I had to sharped the drill about 3 times per hole. In total, 6 holes.
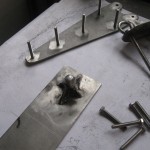
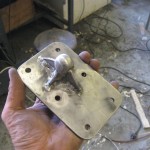
- And voila – we have the mast step. Total production time probably around 8-10 hours. I also spent time dremeling weld splatter.
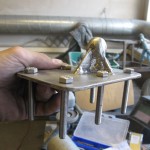
- With the bolts in..
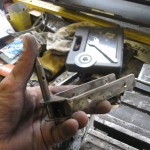
- Sharp drill bits also meant I could drill the 6,5 mm holes into the lowest rudder hinge.
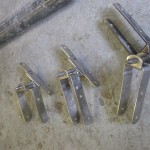
- All three hinges, well presented.
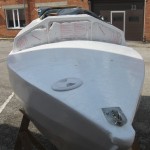
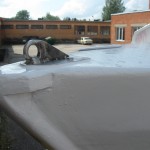
- Last week I also attached the forestay connector and viewport, with UV proof marine Sikaflex of course.
- A closeup of the forestay connection. I noticed some tiny rust speckles on it, but I suspect they are foreign metal, either from a dremel bit, file or whatnot. The speckles have not progressed.
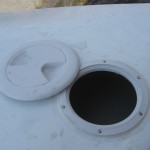
- The forepeak viewport.
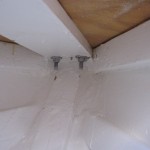
- And the impossible shot – the forepeak from the inside, looking at the forestay bolts. There are quite the gaps between the stringers and the deck plate. If I get restless, I might as well put some kind of fillet there. Moisture and whatnot, it likes cracks.
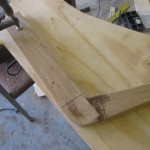
- Work on the tiller progresses. This is actually an old shot. More lamination on it now.
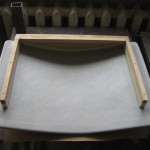
- And the Wilckens Epoxyd primer coat on the companionway hatch cover.
Cheers!

