Hot news straight from the battle: the stalled front made a leap forward, as we today successfully installed our bow transom and the crash bulkhead. Furthermore, a tiller hole has been cut into the newly epoxied stern transom. Cabin side stringers have been installed and beveled. Top stringers still need work. The first cabin side panel has been test fitted. Here are the news in a vivid flash:
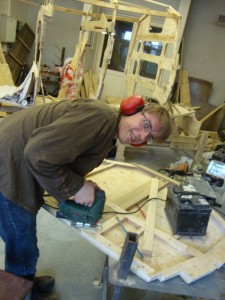
- Joosep cutting the tiller hole. It proved a wee bit difficult to cut trough the epoxy-plywood laminate. Saw blades heated up very fast and dulled.
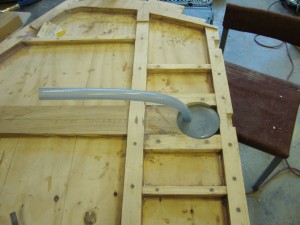
- Joosep used our steaming setups end cap as a drawing guide for the tiller hole.
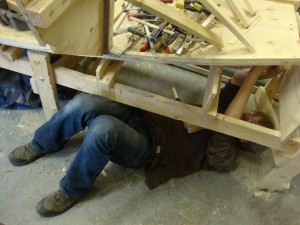
- Joosep in a position wihich is bound to lead to spiritual enlightenment if held for sufficient time. Meanwhile beveling bolt holes for the stern transom.
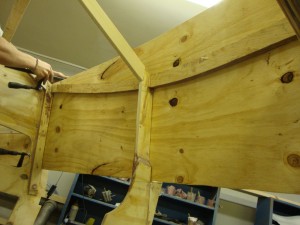
- A snapshot from inside the cabin. This is the first time we try bending a panel onto the frame – and it worked wonderfully. Cabin trailing stringers can also be seen. These are laminated from plywood. Solid wood proved difficult to bend into the required shape, even after steam treatment.
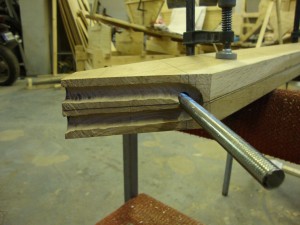
- This is the waterline-end of the forward transom. This face joins to the bulkhead. The channel is for a U shaped threaded rod, which goes around the threaded rod which holds the transom and bukhead together. This fixture olds the front down to the keel. There are three bolt-connections from the transom in total. One to the kingplank, one to the keel and one to the bulkhead.
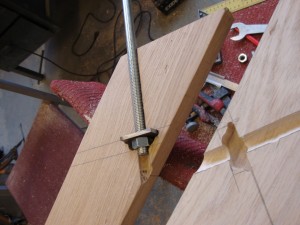
- This is how the riveted rods are held in place in the transom laminate. The channels were cut using our plunge router with a round-head bit. Washers were made from milled steel. All the voids will be encapsulated in epoxy.
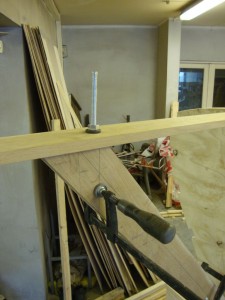
- This is how our transom looks like. A two piece laminate. What is not seen on the picture are countersunk clamping bolts, 10 in total, which keep the two sides together.
- It felt wonderful not having to hold the transom in place with clamps.
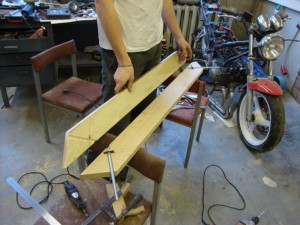
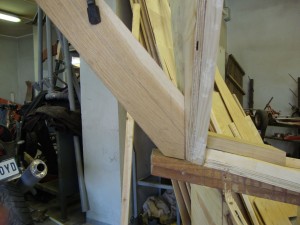
- The critical jointery of the transom, before bolting was applied.
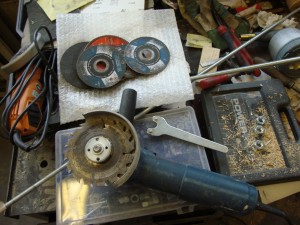
- One of the more bad-ass tools we came up with. A circular saw blade fixed to an angle grinder.
Here is a video of bending the above mentioned threaded U-rod for the transom. There is more video material, but for some reason we have been inert towards uploading it. May this be a bright start:
And also, adventures of Joosep in 3D land have been cemented into a page under “Work methods” under our “Details for the interested” section, found here.


Cheering you guys on here, the build is getting very interesting!
J~
For us as well! Thanks for the cheers.