Hello!
Our Fafnir is going to have a bermuda rig with an ice-boat mast. This means that the boom will rotate with the mast. It is a first approach and will be built so that it can be changed later. To get the boat on water, rigging plus a few little details have to be completed. We have a mast, a boom, a jib and mainsail (being refitted to our measurements) and are now working on getting their minions, bracing plates, U-fastenings and the like in place, lots of ANSI 316 to cut. Lets have the pictures:
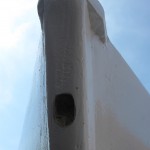
- That hole leads to the forepeak chamber meant for lines and perhaps a small anchor? It is about the size of three “regular” 10 L buckets. Also needed to access forestay fastenings, seen as a gray patch.
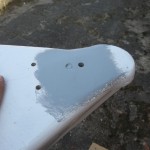
- This gray patch deserves a picture of its own. Namely you can see a little gray crater next to the larger hole at the very top. That is were our 12 mm zinc-coated carbon steel treaded rod was. When we tried to remove it with a pipe wrench, it broke off, not even promising to move. Well, then there was a second try. I welded a bar to the stump (it was above deck before) and then gave it a proper blue flame heating to possibly loosen any epoxy holding the bar stuck in its hole. There is a single M 12 nut (behind a metal plate) holding the bar in the transom. In the process I burned the paint, primer, epoxy fillet and fiberglass. And with a squeaking twist broke the thread again, clean off, but a bit deeper. What a pain. So we just drilled a new hole, slightly further up.
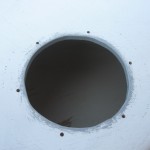
- Drilling the hole was no problem, but creating this spacing hole underneath sure was. Turns out that the drill NEarlY missed the large M12 nut of the old bar. It drilled a hole trough the metal plate keeping the nut in the hole. Lucky. Anyways, it took lots of drilling and dremelling to get this large countersink. Needs to be wide for a tube-wrench to fit in there. The new bar is M10, but stornger, AISI 316 and all. thinking of simply putting a cap on this. You never know, we might break the AISI bar as well and I would not like to drill a third hole. So…
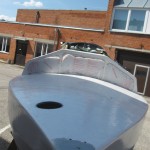
- This is the forepeak hatch opening as seen before. It will have a twistable hatch on it, about 15 cm DIA. the gray is primer. Today it got a cover of paint.
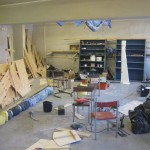
- What the workplace looks like without the boat in it. Lots more room to make a mess in.
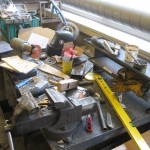
- The main metalworking area.
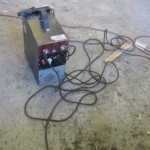
- So, this piece is all AISI 316 steel. Welded up by our welder converted from two microwave ovens. Low carbon stainless steels really distort a lot when welded, compared to “lesser” steels that is. So the approach is to tack weld areas in a symmetric fashion and do filling passes in small proportions. the result is not as nice as you’d want, but it sure holds.
- The Mot welder – it actually works, and pretty well. Average short-circuit current is 110 A. the output is not ballasted and would benefit from this, either some large capacitor or inductor. I used to weld 2 mm rods on it, but the current was too much – lots of splatter and uglyness. Plus the rods got glowing hot after about 1/3 of its length had burned. Now, 2,5 mm dia rods work excellent. They don’t start glowing, start up easier and leave nicer welds.
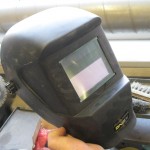
- I got a cheap (25 eur) autodarkening welding helmet. It is working excellent!! The shade can be regulated from 9-13 DIN. the sensitivity is also adjustable and there is a TIG welding mode. It has two sensors, a battery and a solar battery. Perhaps the only complaint is visibility. The front protection plastic has a covering film on it (like on new LCD screens), but it has bubbles in it and is, well, a bit foggy. The visibility would be better if I removed the plastic film, but I want to keep it as long as possible to protect the UV filtering plastic below. Anyways, I recommend a autodarkening helmet to any newblet welder. It makes you a ton more precise. Now i can hold the electrode with two hands.
- A view trough the helmet (clear mode)
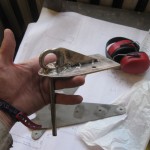
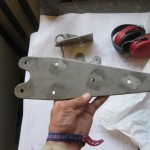
- This is one of the chainplates, 4 mm AISI 316. This material eats up drills like a wonder. MUST keep the drill bit cooled, also the metal below, keep the RPM down and add lots of oil. If I could, I’d put a constant flow of oil into the drilling hole. On the two chainplates, I used up about 4 drill bits. I do not have the means to sharpen drills. It can probably also be done on a dremel, but I do not have the theoretical skill. SHould look it up…
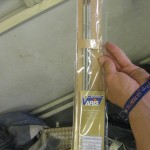
- Stainless steel welding electrodes, meant especially for AISI 316 (L). Leaves a corrosion resistant weld (acid resistant too).
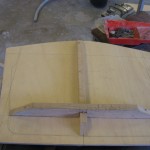
- This was our steel before fitting work started.
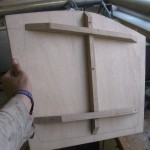
- Work started on the vertical part of the compaionway hatch.
- Ta-daa, inside side of the hatch.
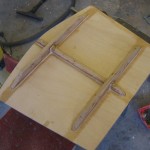
- Rounded, sanded and epoxied.
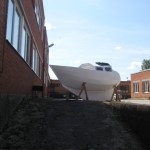
- As she stands.
Cheers!

